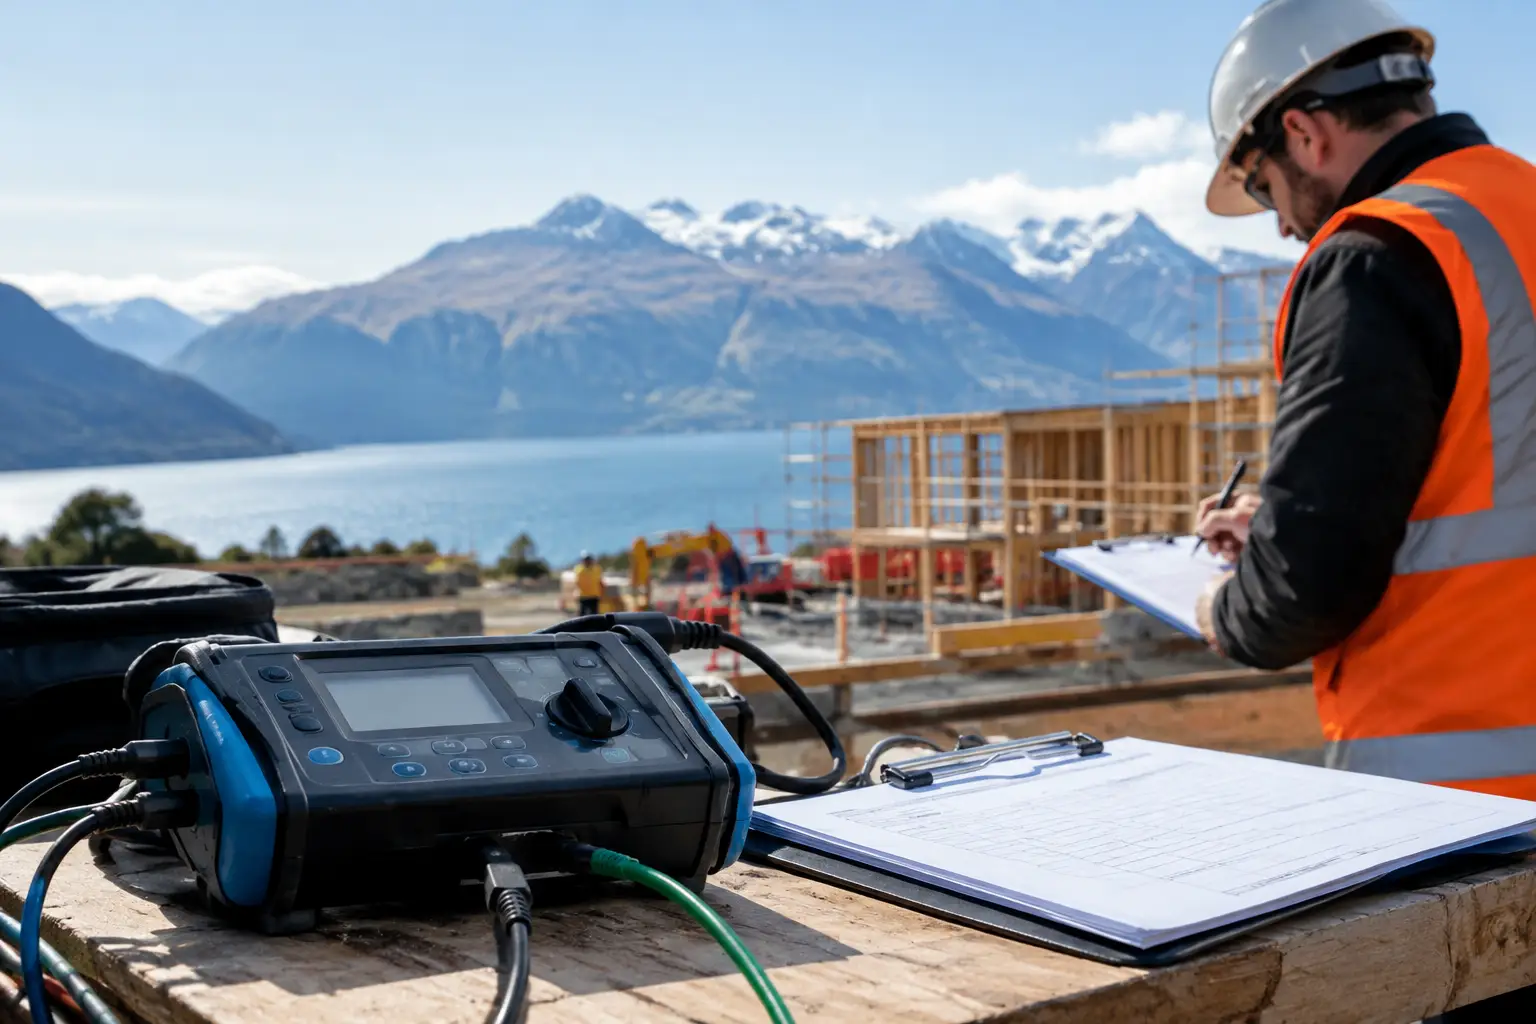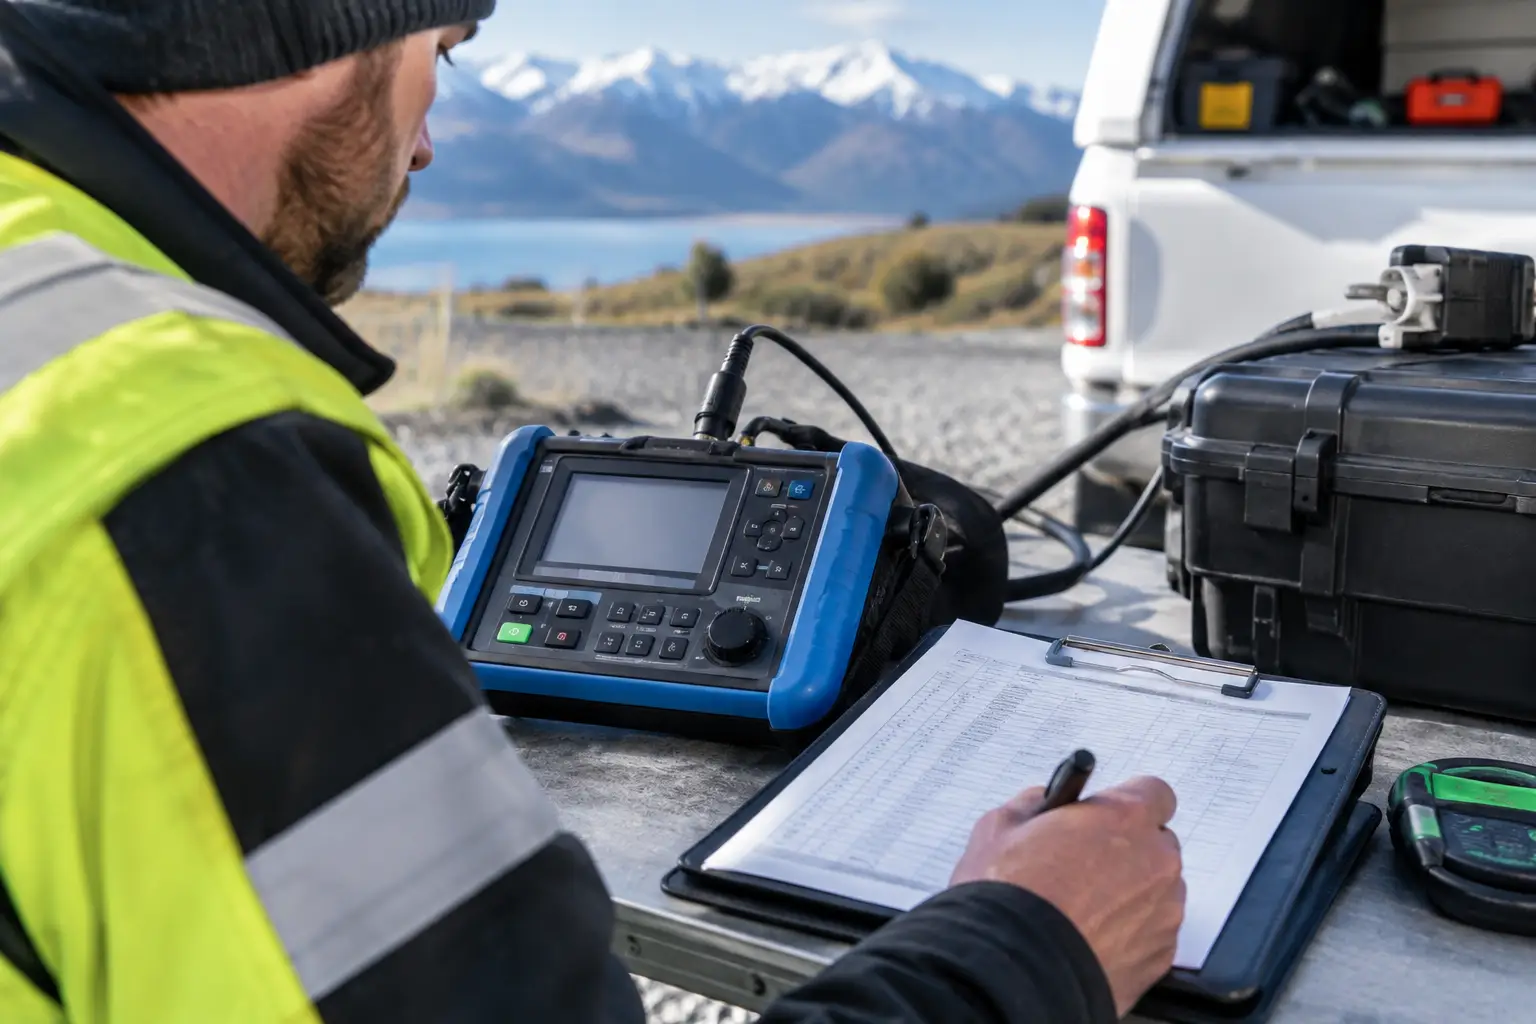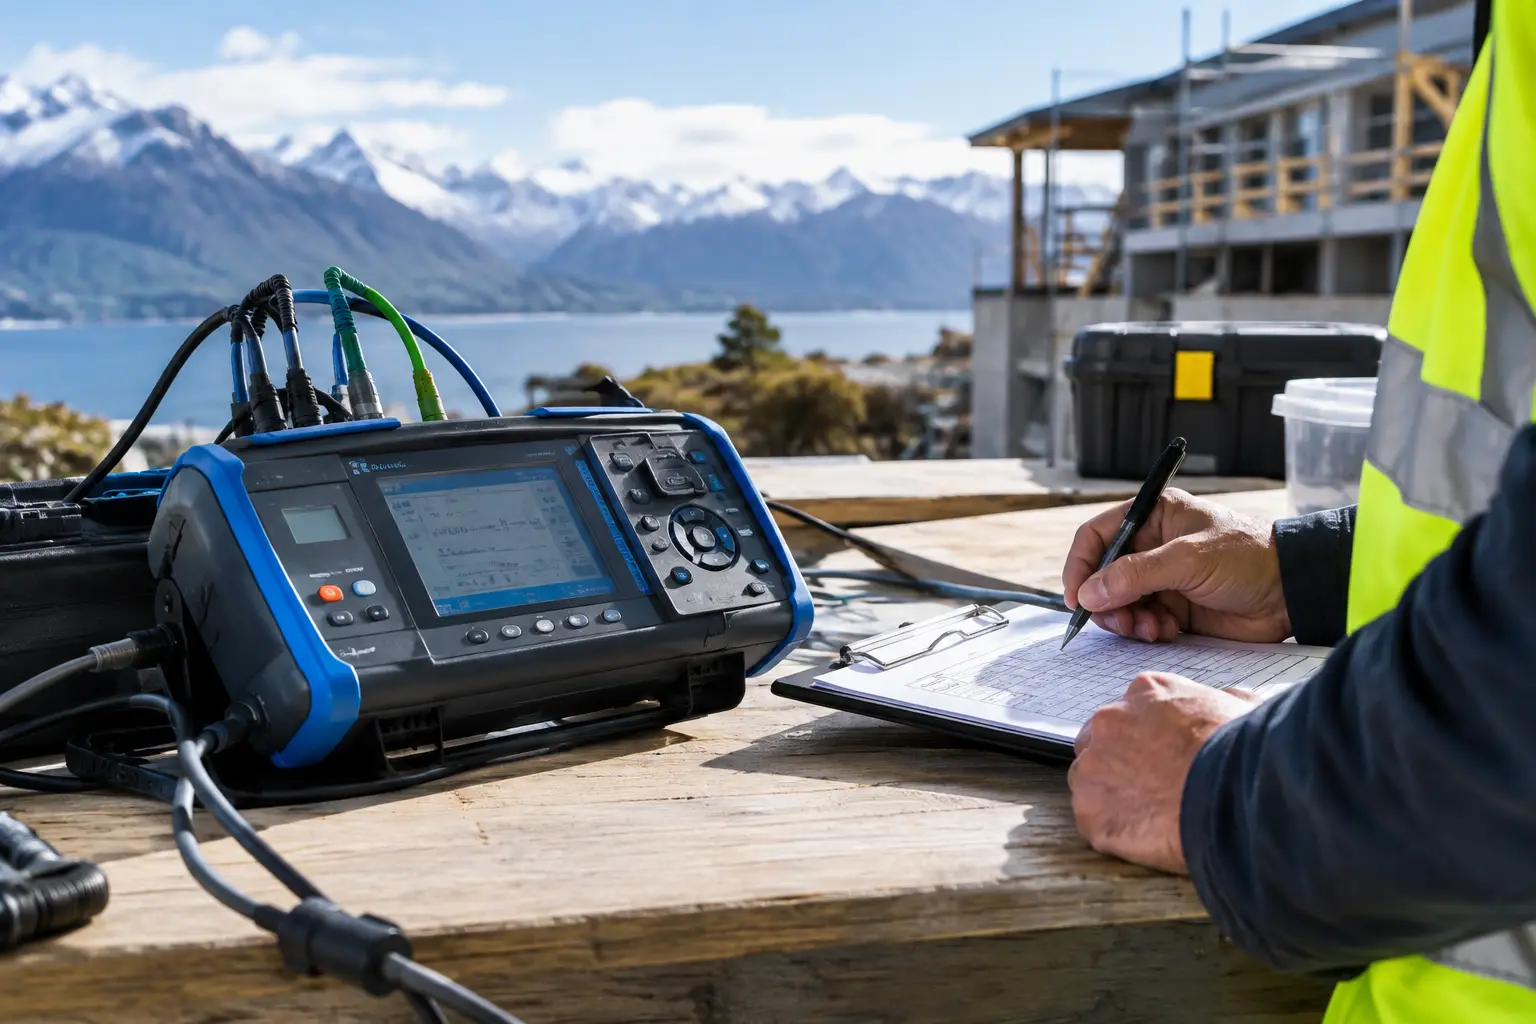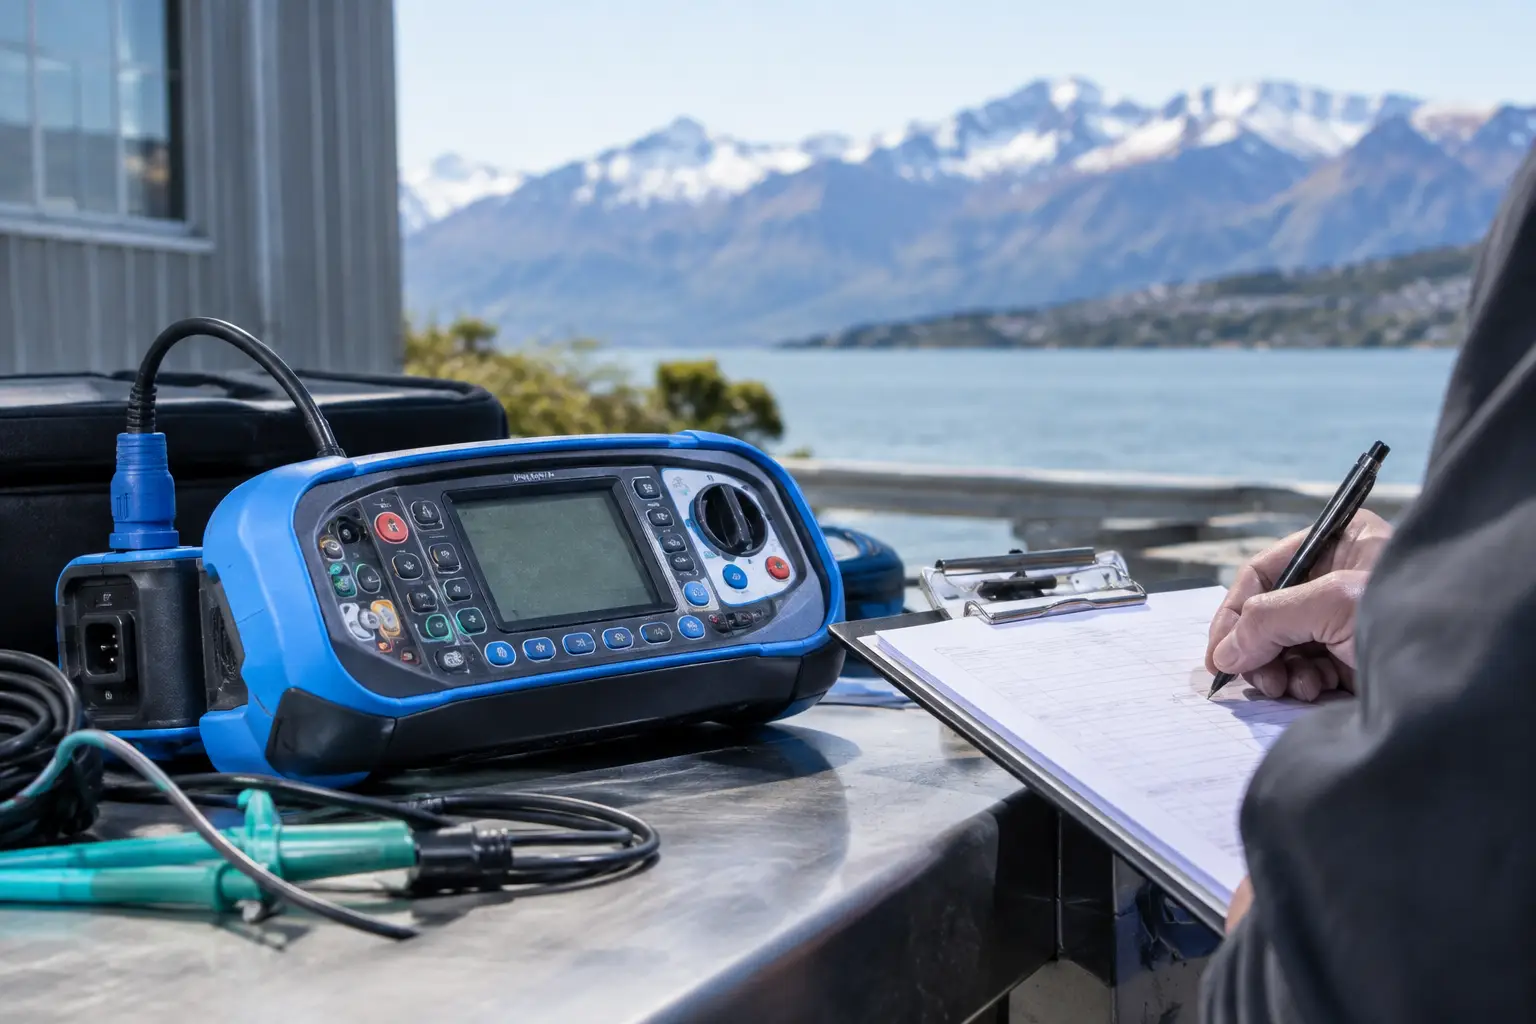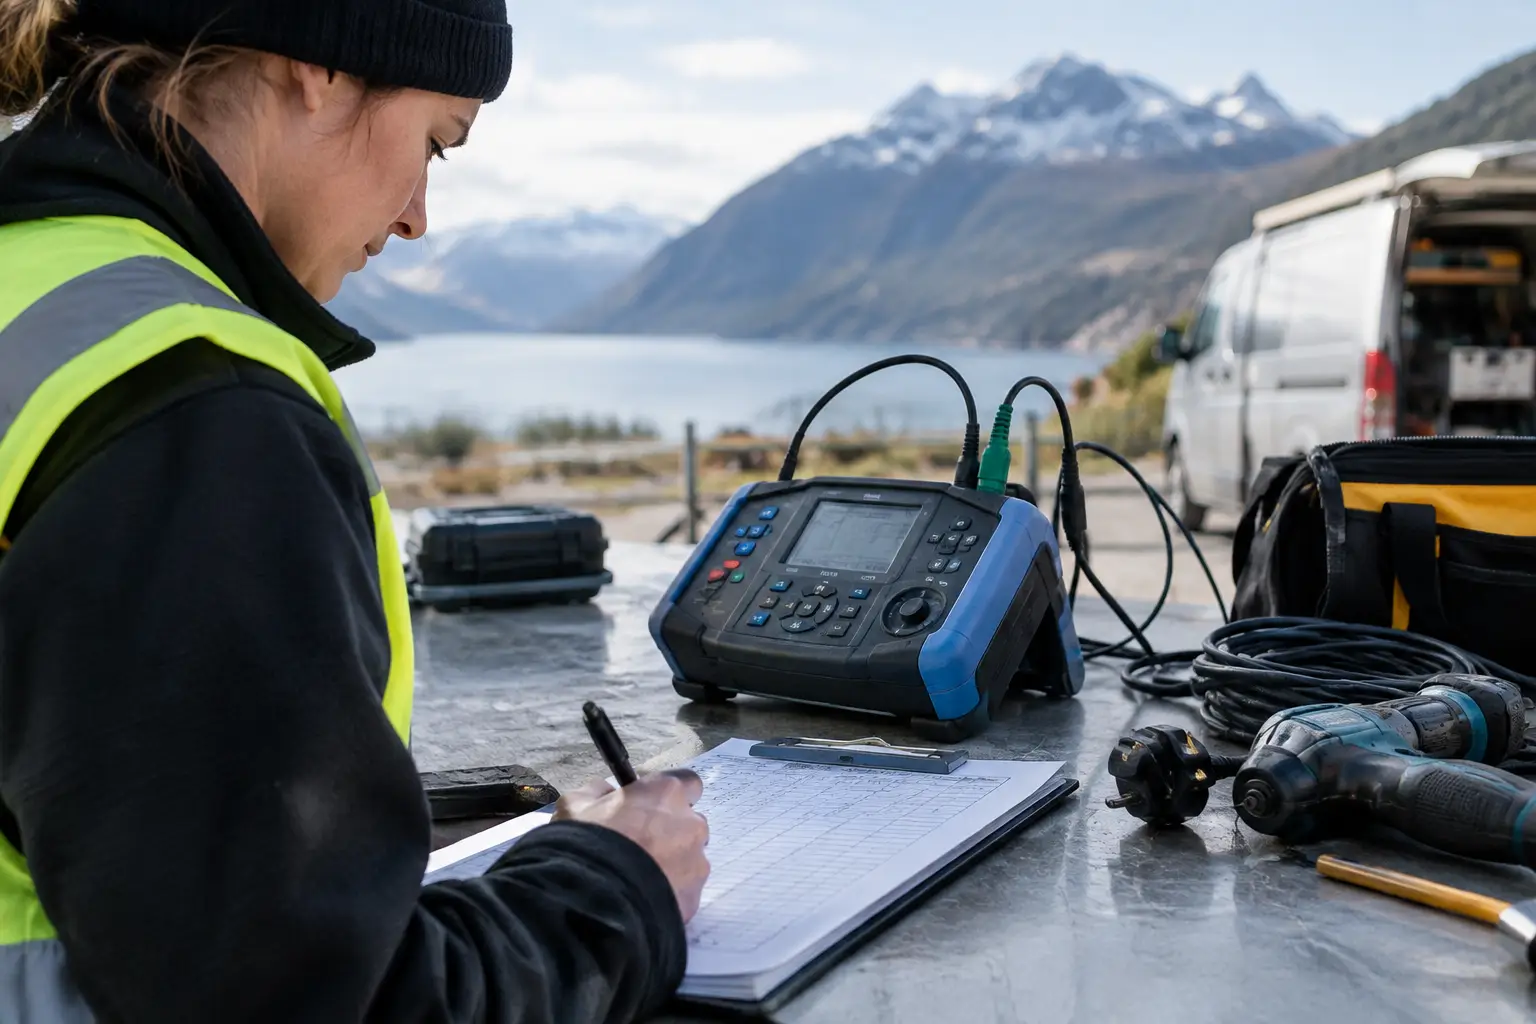
A damaged extension lead on a busy site can look harmless until it is dragged through a puddle, crushed beneath equipment or plugged in for the next job. Knowing how to inspect portable tools before each shift gives workers a practical chance to remove unsafe equipment before it causes an electric shock, burn, fire or costly interruption.
A pre-use check is quick, but it is not optional just because an item has a current test tag. Testing and tagging confirms an item’s condition at the time it was assessed. Daily handling, transport, vibration, moisture and site conditions can create new damage afterwards. Your team needs both: routine user checks and scheduled inspection and testing by a competent person.
Start with a clean, safe inspection area
Before inspecting a portable tool, disconnect it from the supply. Do not inspect a lead, plug or tool while it is energised. Move the item to a dry, well-lit area where damage can be seen clearly, and wipe away excess dust, mud or moisture if needed.
The check should be part of the normal start-up routine, not something saved for a formal audit. On construction, manufacturing and trade sites, equipment is often moved between crews, vehicles and work areas. That makes a brief check before use especially valuable. In a low-risk office environment, equipment may be handled less often, but plugs, leads and chargers can still be damaged by furniture, doors and cleaning activity.
How to inspect portable tools step by step
The most useful inspection begins at the plug and follows the entire path to the tool. Look slowly rather than giving equipment a quick glance. If something does not look right, take it out of service.
Check the plug, cord and lead
Examine the plug for cracked, broken or loose parts. Pins should be straight, secure and free of burn marks, corrosion or discolouration. A plug that feels unusually hot after use, has a loose pin or shows signs of overheating should not be used.
Run your eyes and hands along the full length of the flexible cord or extension lead. Look for cuts, splits, exposed inner conductors, flattened sections, taped repairs, severe kinks or areas where the insulation has become brittle. Pay close attention to the point where the cord enters the plug and the tool. These strain-relief points are common failure areas because they are repeatedly bent and pulled.
Extension leads deserve the same attention as the tool itself. A lead may be safe one day and damaged after being shut in a door, run over by a ute or caught under site materials. Check sockets for cracking, loose components, moisture, dirt and heat damage. Never rely on tape as a repair.
Inspect the tool body and safety features
Check the casing, handles, guards, switches and controls. The housing should be intact, with no cracks that could expose internal parts or allow moisture and debris inside. Handles should be secure and dry. Guards and other safety features must be fitted, undamaged and able to do their job.
For drills, grinders, saws and similar equipment, look for loose fittings, damaged attachments and signs of excessive wear. Check that switches operate normally and do not stick. Do not test a suspicious tool by plugging it in and hoping for the best. Visible damage is enough reason to remove it from use.
Also watch for warning signs that may not be obvious at first glance: a burning smell, unusual vibration, rattling inside the housing, scorch marks, recurring tripped protection devices or a tool that has recently been dropped. These symptoms need assessment, even if the cord and casing appear sound.
Check labels and the test tag
Confirm that the equipment can be identified and that its test tag, where required under your workplace programme, is present and legible. The tag should show whether the item is within its scheduled retest period. If the tag is missing, unreadable or overdue, follow your site procedure rather than making assumptions.
A tag is not a guarantee that the item is safe after rough handling. It records the outcome of an earlier inspection and electrical test. The user’s visual check is what catches the damage that occurred on the way to, or during, today’s work.
Battery tools need inspection too
Cordless tools reduce the number of leads across a work area, but they are not risk-free. Inspect the tool casing, trigger, battery contacts and battery pack for cracks, swelling, leaking, overheating or damage from impact. A battery that is unusually hot, misshapen or has a chemical smell should be isolated and dealt with under site procedures.
Inspect chargers and charging leads with the same care as corded equipment. Keep chargers dry, ventilated and away from flammable materials. Do not use damaged battery packs or force a battery into a tool or charger where it does not fit correctly.
Know when a visual check is not enough
A visual inspection can identify many common faults, but it cannot confirm everything. Internal conductor damage, earth continuity faults and insulation problems may not be visible. This is why workplaces need a planned inspection and testing programme aligned with the equipment, its environment and the risk of damage.
AS/NZS 3760:2010 provides the framework for in-service safety inspection and testing of electrical equipment. The appropriate retesting interval depends on how and where equipment is used. Portable tools and extension leads used on construction or demolition work are exposed to far more wear than a computer lead in a managed office, so they generally require more frequent attention.
There is no single interval that suits every business. Consider whether equipment is regularly moved, used outdoors, exposed to moisture or dust, shared among workers, transported in vehicles, or likely to be crushed or pulled. Client-site rules, insurance conditions and internal health and safety requirements may also affect your programme.
A qualified testing provider can assess the work environment, test applicable equipment, apply clear tags and maintain an asset register that shows what was tested, when it is due again and what was removed from service. That documentation reduces the administrative burden when a client, insurer or auditor asks for evidence.
What to do when you find damage
If a portable tool, lead, plug, charger or battery appears damaged, stop using it immediately. Disconnect it safely, prevent it from being plugged back in and clearly mark it as out of service. Tell the supervisor or person responsible for site equipment so the item can be recorded and assessed.
Do not leave faulty gear in a store room, vehicle or crib area where someone may pick it up later. Separating it from service is the key step. A clear quarantine process protects the next worker as much as the person who found the fault.
Avoid informal fixes such as wrapping damaged insulation with tape or using equipment that only fails “now and then”. Intermittent faults can be difficult to predict and may worsen under load, heat or wet conditions.
Build the check into everyday site practice
The best inspection process is the one people can follow consistently. Include a quick visual check in pre-start conversations, toolbox talks and task planning, particularly when equipment is being moved between locations or used outdoors. Supervisors should make it clear that removing suspect equipment from service is the right call, not an inconvenience.
Keep equipment registers current and ensure staff know who to report faults to. Where many items are shared, simple identification and a reliable testing schedule make it easier to track what belongs on site and what needs attention. For workplaces across Christchurch and the wider South Island, Phase Test and Tag can help establish a practical programme that fits the risks of the site without adding unnecessary paperwork or call-out costs.
A portable tool inspection takes minutes. Make those minutes part of the job, and workers are far less likely to discover a fault when the tool is already in their hands.